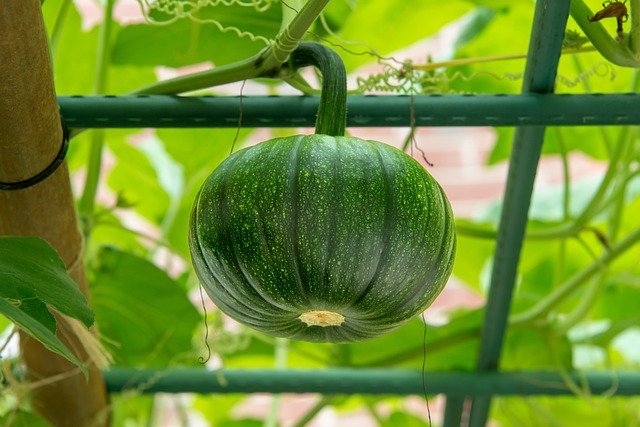
Growing pumpkins in a rooftop garden can be a rewarding and fruitful endeavor, adding vibrant color and a sense of achievement to your urban gardening experience. With the right preparation and care, you can cultivate healthy pumpkins even in limited spaces. Here’s a step-by-step guide to help you get started.
1. Selecting the Right Pumpkin Variety
For rooftop gardening, choose compact, small to medium-sized pumpkin varieties that are more manageable in confined spaces. Some suitable options include:
- ‘Jack Be Little’: Miniature pumpkins, perfect for small spaces.
- ‘Sugar Pie’: Medium-sized pumpkins, ideal for baking.
- ‘Baby Boo’: White, ornamental pumpkins.
2. Preparing the Rooftop Garden
Containers
- Size: Choose large containers, at least 10-15 gallons, to provide ample space for root growth.
- Material: Opt for lightweight yet sturdy materials like fabric pots or plastic containers to avoid overloading the rooftop.
Soil
- Composition: Use a high-quality, well-draining potting mix rich in organic matter.
- pH Level: Ensure the soil pH is between 6.0 and 7.5 for optimal pumpkin growth.
Location
- Sunlight: Pumpkins require 6-8 hours of direct sunlight daily. Position the containers where they will receive maximum sunlight.
- Wind Protection: Use windbreaks or position containers near a wall to protect the plants from strong winds.
3. Planting the Pumpkins
Sowing Seeds
- Timing: Start seeds indoors 3-4 weeks before the last frost date or sow directly outdoors after the danger of frost has passed.
- Depth: Plant seeds 1 inch deep in the soil.
Transplanting Seedlings
- Spacing: If transplanting, space the seedlings 2-3 feet apart to allow adequate room for growth.
4. Caring for Your Pumpkin Plants
Watering
- Frequency: Water the plants deeply once or twice a week, ensuring the soil is consistently moist but not waterlogged.
- Technique: Use drip irrigation or water at the base of the plants to avoid wetting the foliage, which can lead to fungal diseases.
Fertilizing
- Type: Use a balanced, all-purpose fertilizer or compost.
- Schedule: Fertilize every 2-3 weeks during the growing season.
Pruning and Training
- Vines: Train the vines to grow vertically using trellises or netting to save space and improve air circulation.
- Pruning: Remove any damaged or diseased leaves and excess vines to direct energy towards fruit production.
5. Pollination and Fruit Development
Pollination
- Manual Pollination: If pollinators are scarce, hand-pollinate by transferring pollen from male flowers to female flowers using a small brush or cotton swab.
Supporting Fruits
- Slings: Use slings made from soft fabric to support the growing pumpkins and prevent them from breaking off the vine due to their weight.
6. Pest and Disease Management
Common Pests
- Aphids: Control with insecticidal soap or neem oil.
- Squash Bugs: Handpick or use diatomaceous earth around the plants.
Diseases
- Powdery Mildew: Improve air circulation and apply fungicides if necessary.
- Downy Mildew: Ensure proper spacing and use resistant varieties.

7. Harvesting
- Timing: Harvest pumpkins when they have reached their full color and the rind is hard. Typically, this is about 75-100 days after planting, depending on the variety.
- Technique: Cut the pumpkin from the vine, leaving a 2-3 inch stem attached to prolong storage life.
Conclusion
Growing pumpkins on a rooftop garden can be an enjoyable and productive hobby, offering a unique way to utilize urban spaces for gardening. By selecting the right varieties, providing proper care, and managing pests and diseases effectively, you can successfully grow pumpkins that are perfect for autumn decorations or delicious recipes. Happy gardening!


Leave A Comment