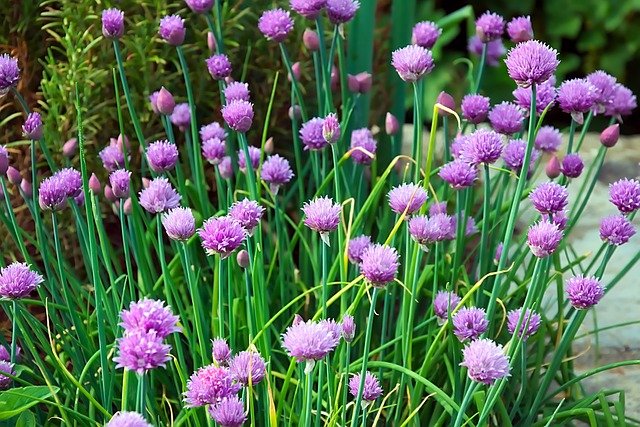
Chives are a versatile and flavorful herb that can be a wonderful addition to your rooftop garden. With their vibrant green foliage and delicate purple flowers, chives not only enhance the aesthetic appeal of your garden but also provide a fresh, homegrown ingredient for your culinary creations. Here’s a step-by-step guide on how to successfully grow chives on a rooftop garden.
Why Choose Chives for Your Rooftop Garden?
- Hardiness: Chives are a hardy perennial, meaning they can survive through various seasons and come back year after year.
- Compact Growth: They don’t require much space, making them ideal for container gardening on rooftops.
- Low Maintenance: Chives are relatively easy to grow and maintain, even for beginners.
- Culinary and Ornamental Value: Apart from their use in cooking, chives produce beautiful flowers that can attract beneficial insects.
Selecting the Right Container
Choosing the right container is crucial for the healthy growth of chives. Here are some considerations:
- Size: A pot with a diameter of 6-8 inches is sufficient for chives. Ensure it has drainage holes to prevent waterlogging.
- Material: Terracotta, plastic, or ceramic pots are all suitable. Ensure the material can withstand the rooftop conditions.
Soil Requirements
Chives prefer well-draining soil. A good mix includes:
- Potting Mix: Use a high-quality potting mix as a base.
- Compost: Add compost to enrich the soil with nutrients.
- Perlite or Sand: Incorporate perlite or sand to improve drainage.
Planting Chives
You can start chives from seeds, seedlings, or by dividing an existing plant.
- From Seeds: Sow seeds directly in the container, about 1/4 inch deep. Keep the soil moist until germination, which typically takes 7-14 days.
- From Seedlings: Transplant seedlings into the container, spacing them about 6 inches apart.
- From Division: If you have an established plant, divide it into smaller clumps and plant them in the container.
Watering and Fertilizing
- Watering: Keep the soil consistently moist but not waterlogged. Water chives when the top inch of soil feels dry.
- Fertilizing: Chives don’t need heavy fertilization. A balanced, water-soluble fertilizer applied once a month during the growing season is sufficient.
Sunlight and Temperature
- Sunlight: Chives thrive in full sun, requiring at least 6 hours of direct sunlight per day. If your rooftop garden gets partial shade, chives can still grow but may not be as vigorous.
- Temperature: Chives can tolerate a range of temperatures but prefer cooler weather. They can withstand light frosts, making them suitable for early spring and late fall gardening.

Pruning and Harvesting
- Pruning: Regular pruning encourages new growth. Trim the leaves down to the base as needed.
- Harvesting: Begin harvesting chives when the leaves reach 6 inches in height. Cut the leaves from the outside of the clump, allowing the center to continue growing.
Pests and Diseases
Chives are relatively pest-resistant, but keep an eye out for:
- Aphids: These small insects can be washed off with a strong jet of water or treated with insecticidal soap.
- Fungal Diseases: Ensure proper air circulation and avoid overhead watering to prevent fungal issues.
Overwintering
In colder climates, chives will die back in winter but will regrow in spring. To protect the roots, mulch the soil with straw or leaves. Alternatively, move the container to a sheltered location.
Companion Planting
Chives make excellent companion plants, repelling pests like aphids and Japanese beetles. They pair well with:
- Carrots
- Tomatoes
- Roses
Conclusion
Growing chives in a rooftop garden is a rewarding endeavor that brings both beauty and utility to your space. With their minimal care requirements and multiple uses, chives are an excellent choice for urban gardeners looking to maximize their rooftop garden’s potential. By following these guidelines, you can enjoy a bountiful harvest of fresh chives season after season.
4o


Leave A Comment