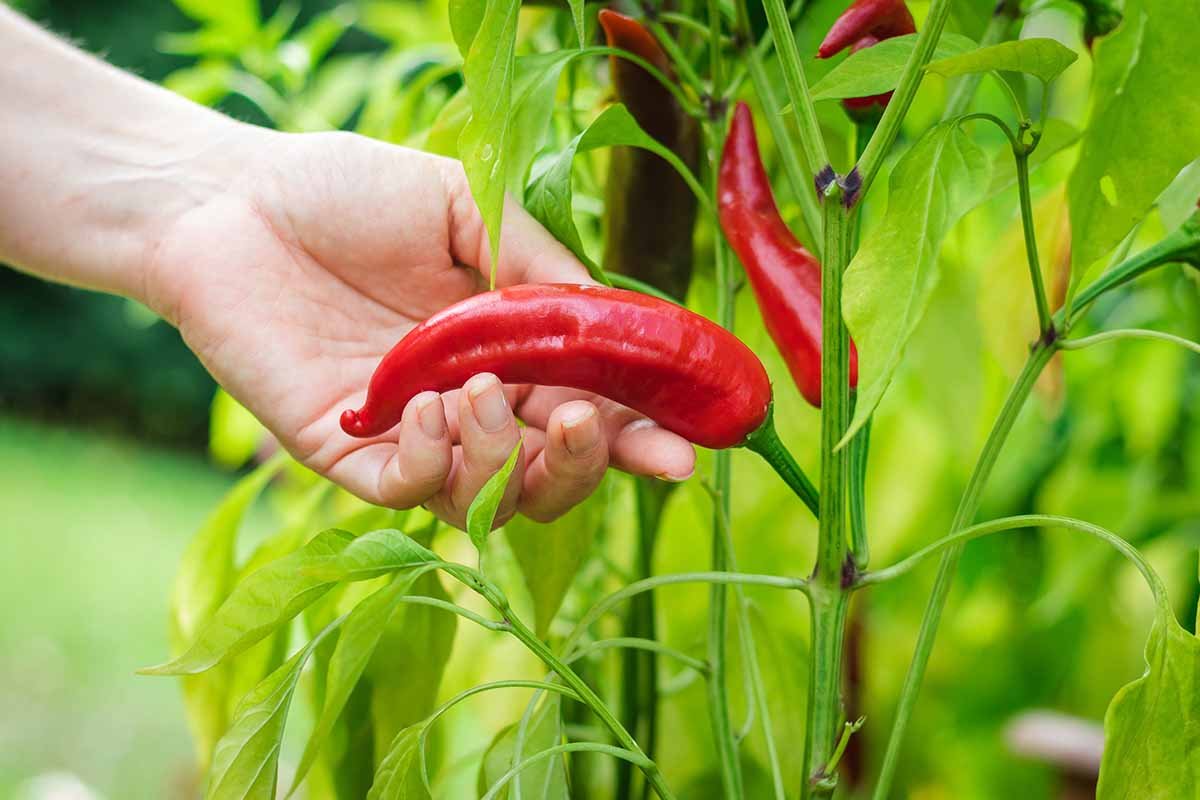
Growing chili peppers in a rooftop garden is a rewarding and spicy endeavor that can transform your urban space into a vibrant, productive garden. With the right care and conditions, you can enjoy a bountiful harvest of fresh chili peppers. Here’s a comprehensive guide to help you get started.
Choosing the Right Chili Varieties
Before you begin, it’s essential to choose the right variety of chili peppers that suit your climate and space. Some popular choices for rooftop gardens include:
- Jalapeño: A versatile and moderately spicy chili.
- Cayenne: Great for drying and adding heat to dishes.
- Habanero: Known for its intense heat and fruity flavor.
- Bell Peppers: Mild and sweet, ideal for those who prefer less heat.
- Thai Chili: Small but extremely hot, perfect for spicy dishes.

Preparing Your Rooftop Garden
1. Assessing Sunlight and Wind
Chili peppers require at least 6-8 hours of sunlight daily. Ensure your rooftop receives adequate sunlight and is sheltered from strong winds, which can damage the plants. You may need to set up windbreaks if your garden is exposed.
2. Selecting Containers
Chili plants thrive in well-drained soil. Choose containers with drainage holes and at least 12 inches deep to accommodate the roots. Fabric pots, plastic containers, or terracotta pots are all good options.
3. Soil Preparation
Use a high-quality potting mix rich in organic matter. You can enhance the soil with compost or well-rotted manure to provide essential nutrients. A slightly acidic to neutral pH (6.0-7.0) is ideal for chili peppers.
Planting Chili Peppers
1. Starting Seeds Indoors
If you start from seeds, begin 8-10 weeks before the last expected frost date. Sow seeds in seed trays filled with seed-starting mix. Keep the soil moist and place the trays in a warm, sunny spot or under grow lights. Once the seedlings have 2-3 sets of true leaves, they are ready to be transplanted.
2. Transplanting Seedlings
Transplant seedlings to larger containers or directly to your rooftop garden when they are about 6-8 inches tall and all danger of frost has passed. Space the plants 12-18 inches apart to ensure adequate air circulation.
Caring for Your Chili Plants
1. Watering
Chili peppers need consistent moisture, especially during flowering and fruiting. Water the plants deeply but avoid waterlogging the soil. A drip irrigation system can help maintain consistent moisture levels.
2. Fertilizing
Feed your chili plants with a balanced fertilizer every 2-4 weeks. A fertilizer high in potassium and phosphorus will encourage flowering and fruiting. Avoid excessive nitrogen, as it promotes leafy growth at the expense of fruits.
3. Pruning
Regularly prune your chili plants to remove dead or yellowing leaves and to promote bushier growth. Pinch off the first flowers to encourage more robust plant development.
Managing Pests and Diseases
1. Common Pests
Keep an eye out for aphids, spider mites, and whiteflies. Use insecticidal soap or neem oil to manage infestations. Introducing beneficial insects like ladybugs can also help control pests.
2. Diseases
Chili peppers can be susceptible to fungal diseases, such as powdery mildew and root rot. Ensure proper air circulation, avoid overhead watering, and use disease-resistant varieties to minimize risks.

Harvesting Your Chili Peppers
Chili peppers are typically ready for harvest 60-90 days after transplanting, depending on the variety. Harvest when the peppers are firm and fully colored. Use scissors or pruning shears to avoid damaging the plant.
Enjoying Your Harvest
Freshly harvested chili peppers can be used in various dishes, dried for long-term storage, or even made into hot sauce. The possibilities are endless!
By following these steps, you can successfully grow chili peppers in your rooftop garden and enjoy the satisfaction of homegrown spice. Happy gardening!


Leave A Comment