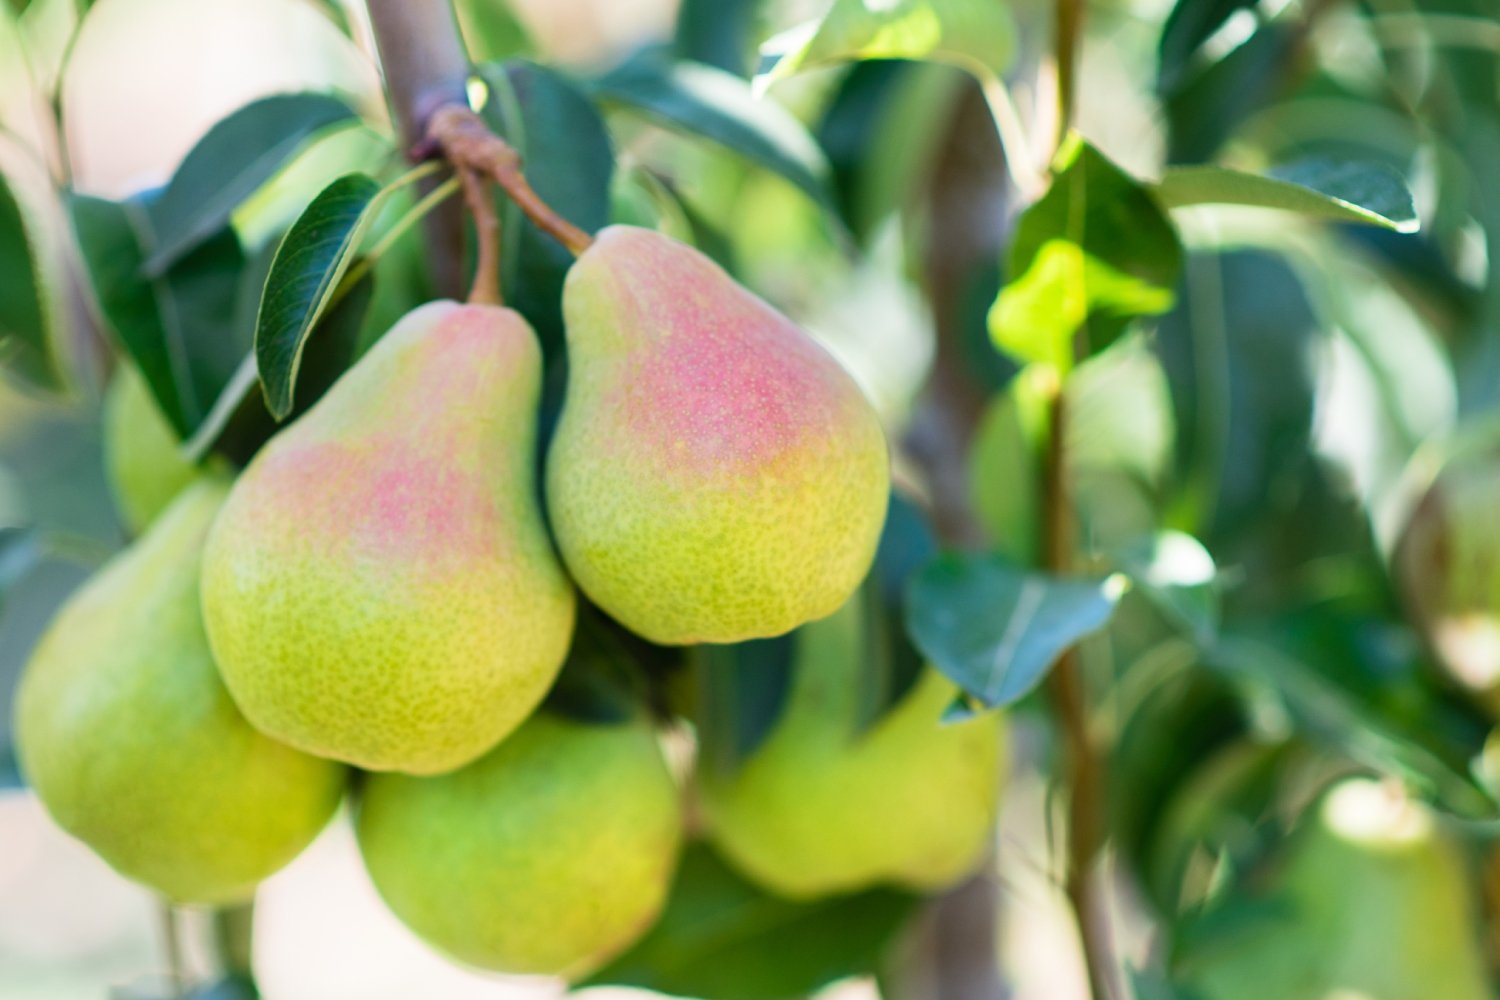
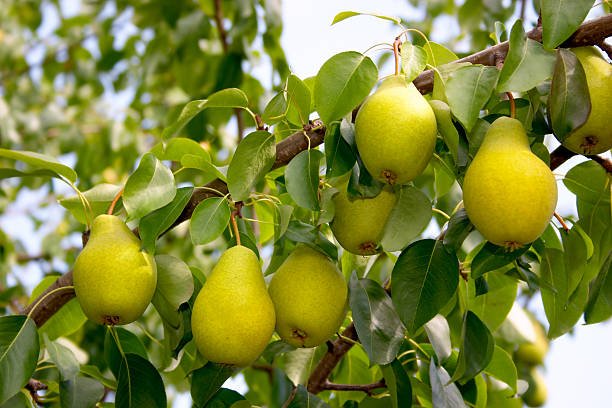
Rooftop gardening has surged in popularity, offering urban dwellers the opportunity to cultivate their own fresh produce despite limited space. Among the variety of fruits suitable for rooftop gardens, pears stand out as a delicious and rewarding option. This guide will walk you through everything you need to know to grow pears successfully in your rooftop garden.

1. Choosing the Right Pear Varieties
Selecting the appropriate pear variety is crucial for a thriving rooftop garden. Consider dwarf or semi-dwarf varieties as they are better suited for container growing and limited space. Popular choices include:
- Bartlett: Known for its sweet flavor and versatility.
- Anjou: Offers a juicy texture and can be used for various culinary purposes.
- Asian Pears (Nashi): Crisp and apple-like, these are perfect for fresh eating.
2. Preparing Containers and Soil
Pears require deep containers to accommodate their root systems. Choose pots that are at least 18-24 inches in diameter and depth. Ensure the containers have proper drainage holes to prevent waterlogging.
For soil, a well-draining potting mix enriched with organic matter works best. You can create your own mix using equal parts of peat moss, perlite, and compost to ensure adequate nutrients and drainage.
3. Planting Your Pear Trees
When planting pear trees, follow these steps:
- Timing: Plant your pear trees in the spring when the threat of frost has passed.
- Planting Depth: Place the tree in the container at the same depth it was in the nursery pot.
- Spacing: If planting multiple trees, ensure they are spaced adequately to prevent overcrowding.
4. Watering and Fertilizing
Regular watering is essential for pear trees, especially in containers where soil can dry out quickly. Water your trees thoroughly whenever the top inch of soil feels dry.
Fertilize your pear trees with a balanced fertilizer (10-10-10) every 4-6 weeks during the growing season. Organic options like compost tea or fish emulsion are also beneficial.
5. Pruning and Training
Pruning helps maintain the shape and health of your pear trees. Here’s how to do it:
- Timing: Prune in late winter or early spring before new growth begins.
- Technique: Remove dead or diseased branches, and thin out crowded areas to allow light and air to penetrate the canopy.
- Training: Use stakes or trellises to support the branches, especially in windy conditions.
6. Pest and Disease Management
Rooftop gardens are not immune to pests and diseases. Common issues for pear trees include:
- Aphids: Can be controlled with insecticidal soap or neem oil.
- Pear Psylla: A more serious pest, it can be managed with dormant oil sprays.
- Fire Blight: A bacterial disease that causes blackened leaves and branches. Prune infected areas and apply appropriate bactericides.
Regular monitoring and early intervention are key to keeping your trees healthy.
7. Harvesting Your Pears
Pears are typically harvested in late summer to early fall. Unlike many fruits, pears are best picked when they are mature but not fully ripe. They should be firm but beginning to soften. Once picked, let them ripen at room temperature.
8. Overwintering
Protecting your pear trees during winter is crucial:
- Move containers to a sheltered location.
- Insulate the pots with burlap or bubble wrap.
- Water sparingly, just enough to keep the roots from drying out completely.
Conclusion
Growing pears in a rooftop garden can be a rewarding experience, providing you with fresh, homegrown fruit and a beautiful green space. With the right variety, proper care, and attention to detail, you can enjoy a bountiful pear harvest even in an urban setting.
For more gardening tips and detailed guides on rooftop gardening, stay tuned to our blog. Happy gardening!


Leave A Comment