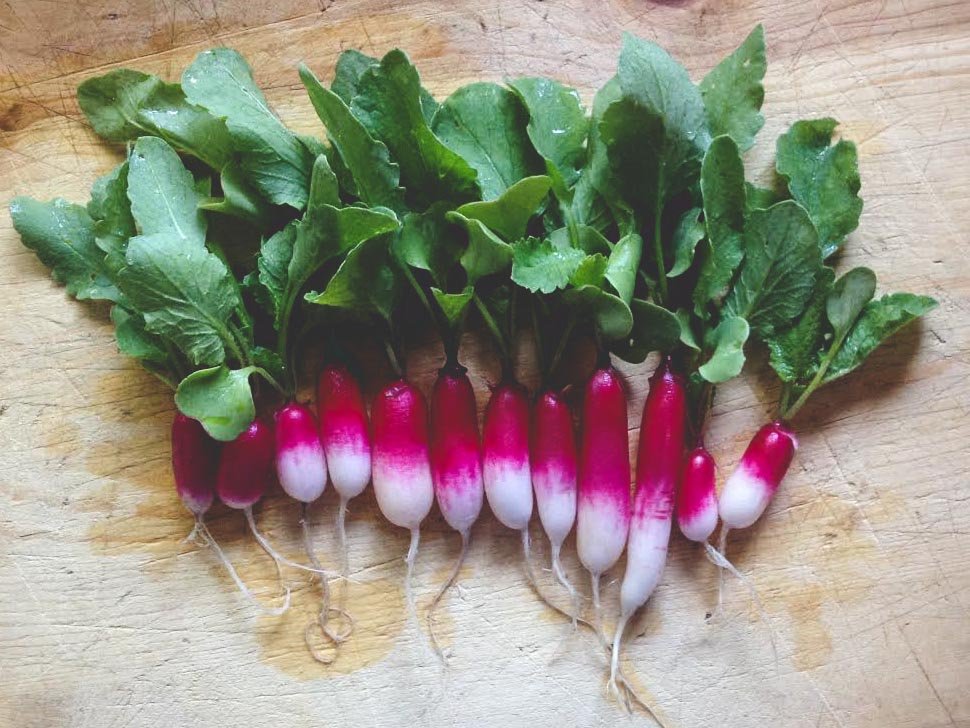
Rooftop gardening is a fantastic way to make use of urban spaces and bring a touch of nature to your living environment. One of the easiest and most rewarding vegetables to grow in a rooftop garden is the radish. Radishes are fast-growing, hardy, and require minimal space, making them ideal for urban gardeners. Here’s a comprehensive guide to growing radishes on your rooftop.
1. Selecting the Right Variety
There are numerous varieties of radishes, each with its own unique flavor and growing requirements. Common varieties suitable for rooftop gardens include:
- Cherry Belle: A quick-growing, round red radish with a mild flavor.
- French Breakfast: An oblong radish that’s crisp and slightly peppery.
- Daikon: A larger, white radish that requires more space and time to mature.

2. Preparing Your Rooftop Garden
Containers: Radishes can be grown in a variety of containers, including pots, grow bags, or even recycled materials like wooden crates. Ensure the containers have good drainage to prevent waterlogging.
Soil: Use a high-quality potting mix that’s rich in organic matter. Radishes prefer loose, well-draining soil with a pH between 6.0 and 7.0.
Location: Radishes need plenty of sunlight, ideally 6-8 hours a day. Place your containers in a spot where they will receive ample sunlight.
3. Planting Radishes
Sowing Seeds: Radish seeds can be sown directly into the soil. Plant the seeds about 1/2 inch deep and 1 inch apart. If you’re using larger containers, you can create rows with seeds spaced 1 inch apart.
Watering: After planting, water the soil thoroughly. Keep the soil consistently moist, but not waterlogged, during the growing period. Use a gentle spray to avoid washing away seeds.
4. Caring for Radishes
Thinning: Once the seedlings are about an inch tall, thin them to 2 inches apart. This gives each plant enough room to develop properly.
Watering: Regular watering is crucial, especially in hot weather. Radishes need consistent moisture to develop well-formed roots. However, avoid overwatering as it can lead to root rot.
Fertilizing: Radishes are relatively low-maintenance when it comes to fertilization. If you have rich soil, additional feeding may not be necessary. If needed, use a balanced, all-purpose fertilizer.

5. Harvesting Radishes
Timing: Most radish varieties are ready for harvest within 3-4 weeks after planting. Check the seed packet for specific timing.
Harvesting: Harvest radishes when they are about 1 inch in diameter. If left in the ground too long, they can become woody and less flavorful. Gently pull them out of the soil by grasping the base of the foliage.
6. Troubleshooting Common Problems
Pests: Radishes can be affected by pests like aphids and flea beetles. Use insecticidal soap or neem oil to manage infestations.
Diseases: Watch out for fungal diseases caused by overly wet conditions. Ensure good air circulation and avoid overwatering.
Bolting: In hot weather, radishes can bolt (flower prematurely). To prevent this, try planting in early spring or fall when temperatures are cooler.
7. Companion Planting
Radishes are excellent companion plants. They grow well with carrots, cucumbers, lettuce, and peas. Avoid planting near brassicas, as they can attract pests common to both.
8. Seasonal Considerations
Radishes are cool-season crops and can be planted in early spring or late summer for a fall harvest. In warmer climates, winter planting is also possible. Pay attention to your local climate and adjust planting times accordingly.
9. Sustainability Tips
Reuse Materials: Use recycled containers and organic soil amendments to reduce waste and environmental impact.
Water Conservation: Utilize rainwater collection systems for watering your rooftop garden.
Conclusion
Growing radishes in a rooftop garden is a rewarding endeavor that yields quick results. With the right conditions and care, you can enjoy fresh, crisp radishes almost year-round. This simple guide provides the essential steps to get started, transforming your urban space into a productive and green haven. Happy gardening!


Leave A Comment